I am one for Asian sweets, and one of my favourite flavours ever is red bean, especially in the form of red bean paste a.k.a
anko in Japan. I love the flavour, the slight sweetness, and the smooth texture. Black sesame is even better, but I'll leave that for another day.
I've only made
anko once before, and it wasn't all by myself and it was when I was little, so this was quite the adventure. For whatever reason, I decided to soak a whole package (i.e. 850 grams) of dried red beans overnight to make into
anko the next day. I ended up making about 5 cups of anko in total. That's 5 cups of red bean paste! Because there were so many soaked beans, I had to separate it into 3 batches...well, 2 and a half.
The original idea was to make something vegan-friendly and gluten-free for the staff at my workplace in honour of my least favourite "special occasion", Valentine's Day. Regardless, I take any opportunity I can to bake/make food things. My love for food and food things runs pretty deep. So, I thought of making
ichigo daifuku which is basically a strawberry wrapped in red bean paste wrapped in mochi/rice cake. I had never actually had the combination of flavours until I made these, but it somehow tastes deeelicious together.
So, here I had 5 cups of
anko which was more than enough for my
daifuku. I decided to make a small batch of
anpan (red bean buns), which didn't turn out exactly how I wanted them to, but the
anko saved them. In total, in addition to my 8
anpan, I made 8 large
ichigo daifuku (because I had some ginormous strawberries), 10 regular sized
ichigo daifuku, and 15 pink
daifuku without strawberries. The last bit of it went into making 2 slices of
anko toast and 9
anko pancakes. A whole glorious week of
anko? Yes please!
Things I have learned today about anko (red bean paste):
- Red beans are
NOT the same as red kidney beans.
- In Japan, there are 2 main types of anko -
tsubuan and
koshian.
Tsubuan is prepared by boiling the red beans, and later evaporating the liquid, and reducing them into a thick mixture with sugar.
Koshian is
tsubuan that is passed through a sieve in order to remove the bean skins, leaving only a fine, smooth paste.
-
Anko, once prepared is very easy to use as a versatile filling for practically anything. It can also be used to make red bean soup.
- The ingredients used to make
anko are actually very simple, and it is just the process of making the
anko that is a little bit time consuming. (But to me, it is sooo worth it.)
- When cooking your beans, a good ratio is 1 part beans to 2 parts water, so that the beans stay fully submerged while boiling away.
- The red beans are cooked properly when you can easily smush one with your finger. (I'm a fraidy cat when it comes to burning myself, so I do the test by plopping a bean on the stove surface, and smushing it with a chopstick.)
- Smooth, sweet anko is amaaaaazing, but that's not really new.
 |
| February 13, AM: Stage 1 Anko (Tsubuan)! |
 |
| February 13, AM: Stage 2 Anko (Koshian)! |
Anko/Red Bean Paste (adapted from
Just One Cookbook)
*Makes ~2 cups of anko*
3 cup dried red beans
6 cups water (for soaking)
6 cups water (for cooking)
1 cup white granulated sugar
1. Soak the red beans in water at room temperature overnight (or for at least 6 hours).
2. Drain the beans from the soaking water.
3. Place the beans into a large pot, fill with water, and bring to a boil.
4. Once boiling, bring the heat down to medium-low (between 3-4 on my stove which has a scale of 8). Simmer for about 45 minutes or until the beans are cooked through. You can test this by being a chicken and plopping a bean on the surface of your stove and seeing if you can smush it easily with a chopstick. You can also take one and smush it in the palm of your hand with your finger, but it'll be hot.
5. When the beans are cooked, drain them, and place them back into the pot. Leave the heat on medium-low so you don't burn the product.
6. Add the sugar into the red beans, and mix with a wooden spatula over the heat until the liquid is gone, then remove from heat. What you have now is tsubuan. You can use this as it is if you'd like, or continue to make koshian.
7. Use the wooden spatula to pass the tsubuan through a sieve with holes small enough to hold back the bean skins. Be careful not to drop any bean skins into the smooth paste. If you do, just fish them out.
8. Et voila! A beautifully fine and smooth red bean paste ready for use or direct consumption ;)
 |
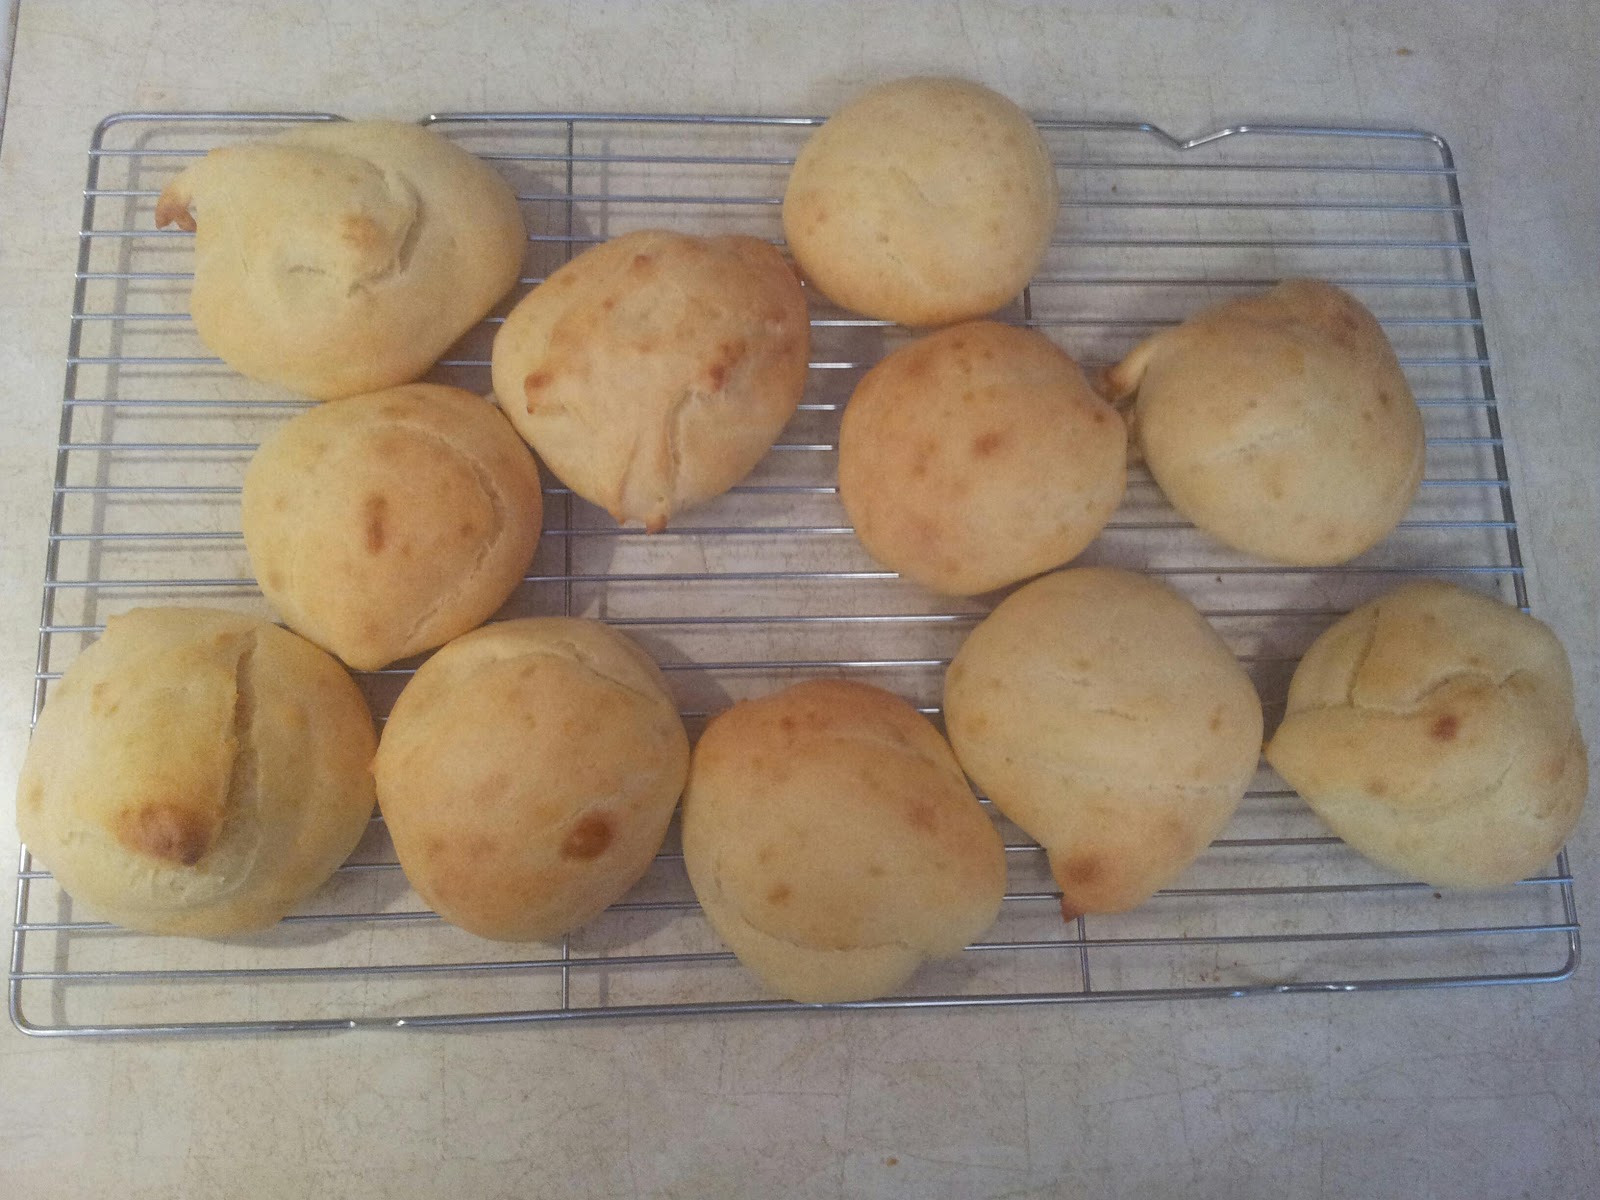
| February 13, AM: Mutant anpan! These anpan could have been cared for a bit more, but I was attempting to multitask. I was using one hand to prepare the anpan, and the other to keep watch over the anko on the stove. I used a small dish in my left hand to sloppily sprinkle black sesame seeds on the tops, so they aren't as pretty as the ones in the Chinese bakeries :/ There are also little pockets of egg in the nooks and crannies because someone in my house used the pastry brush on a heated pan, which destroyed the bristles (*twitch*). As a result, I had to use a teaspoon to pour the eggwash over top of the buns, but it sank to the edges... another error I made was while making the bun dough - I used salt instead of sugar with the yeast, so it was more like bread rather than a sweet bun. The anko did help though. |
|
*Makes 8-10 anpan*
(The recipe did make 8, but I think that the bread to anko ratio was a bit imbalanced. I would probably make 10 buns instead.)
1 1/2 cups all-purpose flour
1 package instant yeast
1 tsp sugar
2 eggs
2 Tbsp all vegetable shortening
8 Tbsp anko
1 Tbsp water
1 Tbsp black sesame seeds
1. Combine flour, yeast, sugar, 1 egg, and shortening. Knead sticky dough for about 10 min. Place in an oiled bowl covered in plastic wrap, and put in the microwave with a cup of hot water. Do NOT turn on the microwave. This is just to utilize the "vacuum" like properties. Let rise for 1 hour.
2. While the dough is rising, line a loaf pan with parchment paper.
3. Shape anko into 1 tablespoon balls, and set aside in the fridge. Prepare an eggwash with the remaining egg and water.
4. Flour the back of a baking sheet for rolling and shaping your buns. Preheat the oven to 350F.
5. After the dough has risen, gently punch it down and split into 8-10 equal portions. Flatten each portion into a circle, place one anko ball in the centre, and pinch, twist, and seal into a bun. Place the bun into the loaf pan. Repeat this for all buns.
6. Coat each bun with an egg wash, and sprinkle with black sesame seeds.
7. Bake for 20-25 min.
8. Nom nom nom.
 |
| February 13, PM: The chilled fillings for the ichigo daifuku: strawberries wrapped in anko! I got my strawberries from Superstore, and some of them were gigantic. I ended up making 18 ichigo daifuku in total - 8 large ones and 10 more normal sized ones. |
 |
| February 13, PM: A cross-section of one of the ichigo daifuku so that you can see the layers of strawberry, anko, and mochi :) I also made a bunch of daifuku that looked more like those flat, glutinous rice cakes you see at T&T and such, except not as tidy looking. In honour of Valentine's Day, I even tinted them pink with some red food colouring. Unfortunately, I forgot to take pictures of those, so my apologies. |
*Makes 6 normal-sized ichigo daifuku or 3 large ones*
10 Tbsp mochiko
2 Tbsp white granulated sugar
150 ml water
1 cup tapioca starch
6 small strawberries/3 gigantic strawberries
1/2 cup anko
Warning - Making these is really messy. You will get sticky rice gunk and flour and starch on your fingers.
(As a note, I would also use shiratamako as opposed to mochiko because mochiko tends to make them softer, and therefore less able to maintain a sturdy, even shape around the strawberries. The taste is still good though!)
1. Wash and pit strawberries. Wrap each strawberry with a layer of anko so that their tips still stick out. Set aside and chill in the fridge until ready for use.
2. Prepare a cutting board coated with tapioca starch, and a small bowl of tapioca starch to flour your hands later.
2. Add mochiko, sugar, and water into a microwaveable bowl, and use a wet spatula to combine. Place in the microwave on high for 1 minute.
3. Remove the mixture from the microwave, and stir it until evenly distributed. Place in the microwave for another minute.
4. Remove the mixture from the microwave, stir, and place back into the microwave for another 30 seconds.
5. Remove from the microwave, and scrape hot mixture onto cutting board. Fold over once to make it less sticky. Be careful when working with this, because it is very hot. Flour your hands with tapioca starch.
6. Divide the hot mochi into 6 equal portions. Flip and pat one portion into a circle, and place one anko strawberry in the centre. Quickly use the mochi to wrap the strawberry. Repeat for all 6 strawberries. You need to work quickly because the flexibility of the mochi changes as it cools.
7. Enjoy right away, or cover with plastic wrap and store in a sealed container at room temperature.
 |
| February 17: I was craving something mildly sweet for a nighttime snack, so I made anko toast which is essentially anko spread on top of toast. It was pretty tasty, although it would have been better if it was white bread...we only had 60% whole wheat at home ._. |
Anko Toast
2 slices of bread
3-4 Tbsp koshian
1. Toast two slices of bread.
2. Spread a couple tablespoons of anko evenly over the toast.
3. Consume.
 |
| February 18: Anko pancakes for breakfast! I would have preferred a slightly stronger red bean flavour, but not bad for the first try. Too bad I only had 1 cup of anko left :/ My brother and I enjoyed these this morning! Smooth, fluffy pancakes with a hint of red bean. As always, I enjoy my pancakes with a plain spread of margarine. My brother opted for a drizzle of honey. |
Red Bean Pancakes (adapted from
Just One Cookbook)
*Makes 9 small pancakes*
1 cup koshian (You could try using tsubuan as well, but I like smooth pancakes.)
2 tbsp water
1 cup all-purpose flour
1 tsp baking powder
1 egg
1/2 tsp pure vanilla extract
1 cup soy milk
1. Over medium heat, combine koshian and water to make a loose, fluffy paste. Remove from heat and set aside. (I didn't bring my paste to a boil because it was homemade. As always, if you use canned products, it might be a good idea to do so.)
2. Sift flour and baking powder into a bowl. Add egg, vanilla, and milk to make a smooth pancake batter.
3. Fold in the red bean paste just until combined.
4. Pre-heat the oven to 200F with an ovenproof baking dish to keep your pancakes warm later.
5. Over medium-low heat, add a bit of oil into a pan. Use about 1/4 cup batter for each pancake. Flip with a spatula when the edges become dried and stay open, and cook other side until golden brown. (I like to oil the pan between batches so that the colours of each pancake are even.) Place cooked pancakes into the baking dish in the oven to keep warm. Repeat until all batter is used.
6. Enjoy with whatever toppings you like. I bet they'd taste good with whipped cream...
This week of anko has been amazing! I feel kind of inspired to explore further into the world of Asian sweets...black sesame, taro, lotus seed, custard...the possibilities are endless! Just in time for reading week too! ^ ^
-M


